How To Implement a TipTap WYSIWYG Editor in Laravel Livewire


In this article, I am going to show you how to build a simple application that implements a TipTap editor into a Livewire component.
The completed sample code can be found on GitHub here
What is TipTap?
TipTap is a headless, framework-agnostic WYSIWYG editor that also supports markdown, and gives you full control over the functionality and appearance of the editor.
The documentation, at the time of writing this, is not very clear when it comes to integration with Laravel Livewire, and contains some errors. This guide describes the process I have used to get it to work for me.
The Process
- Set up a Laravel project and pull in our dependencies
- Create the TipTap editor component
- Integrate the TipTap javascript
- Add some controls
- Add styling using Tailwind
Set Up our Laravel Project
First, we will create a fresh Laravel project using Composer, and import our dependencies
# Create project
composer create-project laravel/laravel tiptap-laravel-demo
cd ./tiptap-laravel-demo

# Install livewire
composer require livewire/livewire

# Install TipTap
npm install -D alpinejs@2 @tiptap/core @tiptap/starter-kit
All being well, if we navigate to our project in the browser then we should see the Laravel welcome page

Creating the Editor Components
The minimum we need to get the editor working is an editor blade component, and a Livewire component.
The Livewire Component
From the command line, we create the Livewire component
php artisan make:livewire editor
The Livewire component will contain the editor and keep track of the changes to the editor content in real time. We need to add a public property to our Livewire component that will contain the content of the WYSIWYG editor.
# app/Http/Livewire/Editor.php
<?php

namespace App\Http\Livewire;

use Livewire\Component;

class Editor extends Component
{
    public $content;

    public function render()
    {
        return view('livewire.editor');
    }
}
And we will set up the template for component
<!-- resources/views/livewire/editor.blade.php -->
<div>
    <!-- The editor -->
    <div>
        <h2>Editor</h2>
        <x-editor wire:model="content" style="border:1px solid red"/>
    </div>

    <!-- Preview what the editor is creating -->
    <div>
        <h2>Preview</h2>
        <p>{{$content}}</p>
    </div>
</div>
The Anonymous Blade Component
Next we will set up an anonymous blade component for the editor itself
<!-- resources/views/components/editor.blade.php -->
<div
    x-data="{content: @entangle($attributes->wire('model')),...setupEditor()}"
    x-init="() => init($refs.editor)"
    wire:ignore
    {{ $attributes->whereDoesntStartWith('wire:model') }}>
    <div x-ref="editor"></div>
</div>
Including The Editor In The Welcome Screen
For this demo, we are just going to put the editor into the Laravel welcome screen, so we edit it as below to include Livewire and the editor
<!-- resources/views/welcome.blade.php -->
<!DOCTYPE html>
<html lang="{{ str_replace('_', '-', app()->getLocale()) }}">
    <head>
        <meta charset="UTF-8" />
        <meta name="viewport" content="width=device-width, initial-scale=1.0" />
        <link href="{{ asset('css/app.css') }}" rel="stylesheet" />
        <title>TipTap Demo</title>
        @livewireStyles
    </head>

    <body>
        <h1>TipTap Livewire Demo</h1>
        <!-- The editor component -->
        <livewire:editor />

        @livewireScripts
        <script src="{{asset('js/app.js')}}" defer></script>
    </body>
</html>
Creating the Javascript
The javascript is taken almost completely from the documentation, I have decided to place it in its own file for maintainability
// resources/js/editor.js

import { Editor } from '@tiptap/core'
import StarterKit from '@tiptap/starter-kit'

window.setupEditor = function() {
    return {
        editor: null,
        init(element) {
            this.editor = new Editor({
                element: element,
                extensions: [
                    StarterKit
                ],
                content: this.content,
                onUpdate: ({ editor }) => {
                    this.content = editor.getHTML()
                }
            })
        },
    }
}
We need to get Laravel Mix to include this JS
// resources/js/app.js

require('./bootstrap');
require('alpinejs');
require('./editor');
Next we need to compile the JS
npm run dev
And that should be the minimum we need to get this up and running, so we navigate to the welcome screen and should be able to interact with the editor.
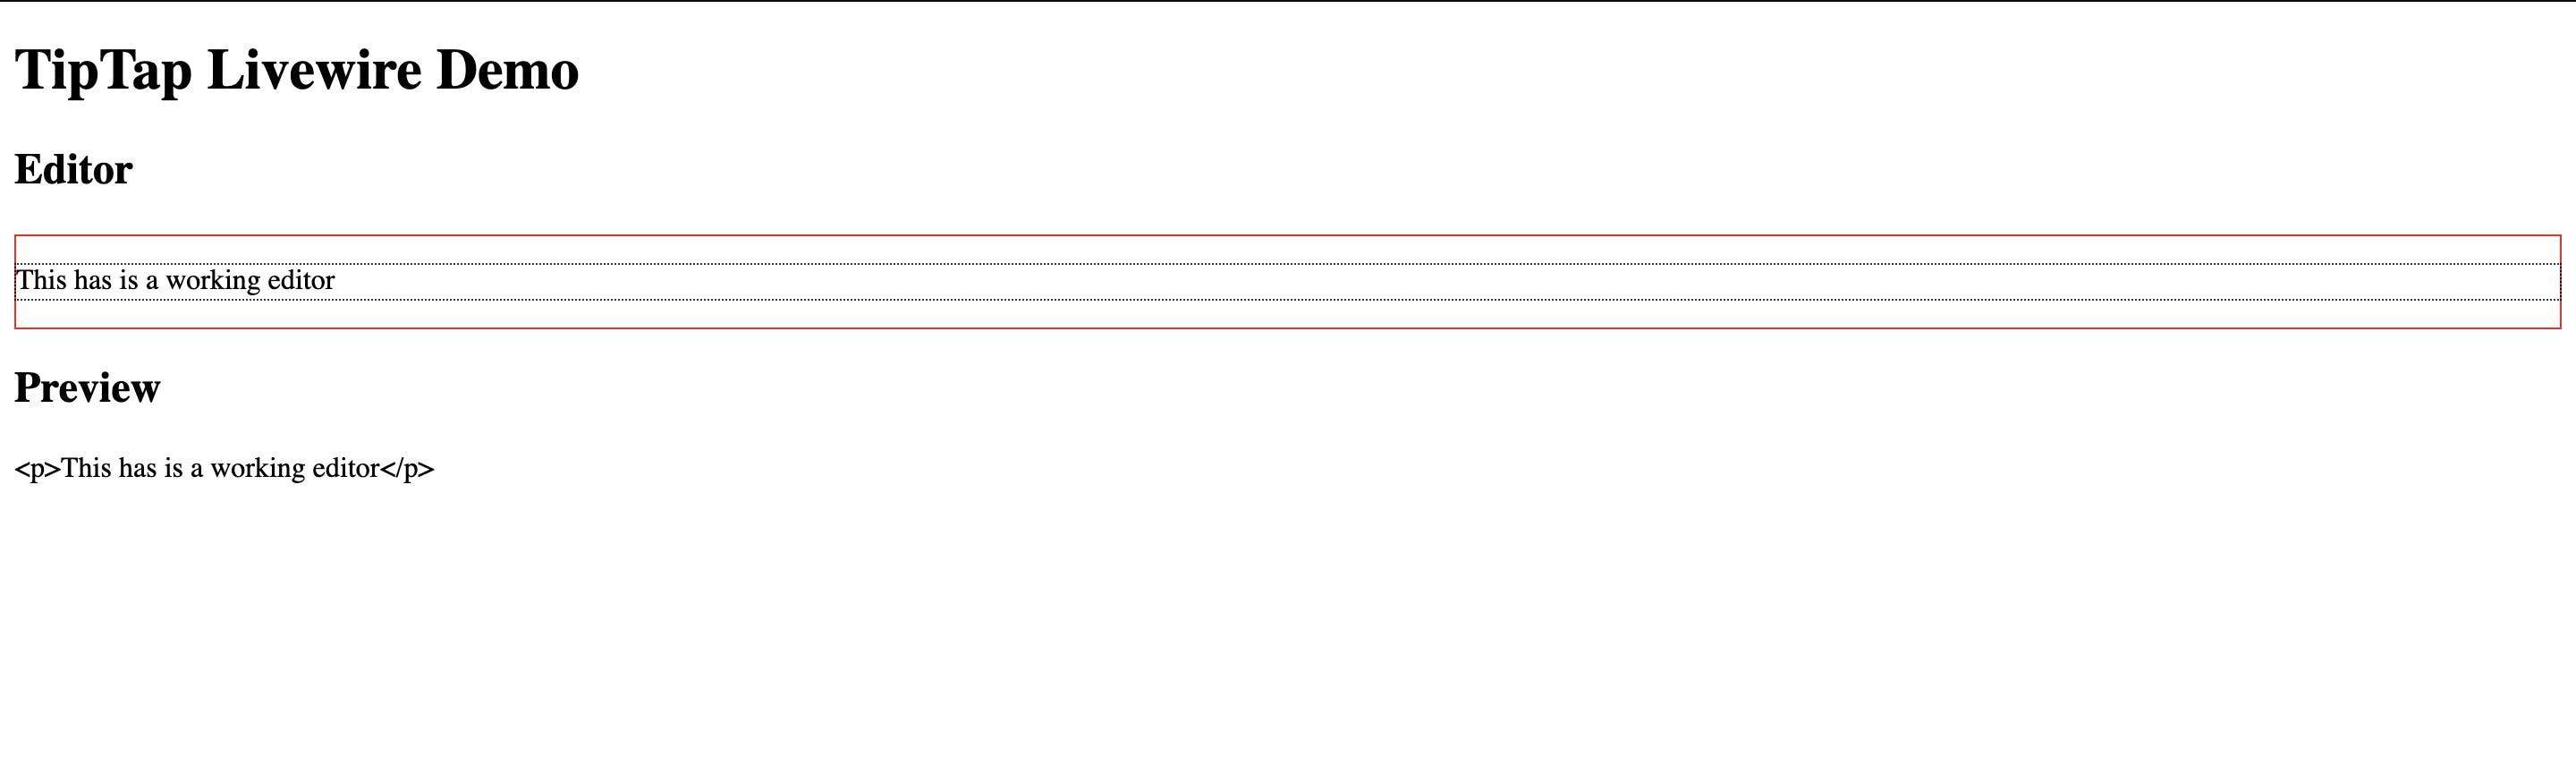
We can then get the Livewire component to handle the input however we need to.
Adding More Controls
We currently have the editor working, but at this point, it is not much more than an overengineered text-area. Let's change that by adding a few controls. TipTap comes with a large number of controls available, and full details of each can be found in the documentation. For this demo, we will add controls for bold, italic, code, blockquote, headings, ordered lists and unordered lists.
To add the controls we need to make a few changes to the component file
<!-- resources/views/components/editor.blade.php -->
<div
    x-data="{content: @entangle($attributes->wire('model')),...setupEditor()}"
    x-init="() => init($refs.editor)"
    wire:ignore
    {{ $attributes->whereDoesntStartWith('wire:model') }}>

    <!-- The Controls -->
    <template x-if="editor">
        <div>
            <button @click="editor.chain().toggleBold().focus().run()">Bold</button>
            <button @click="editor.chain().focus().toggleItalic().run()">italic</button>
            <button @click="editor.chain().focus().setParagraph().run()"> paragraph</button>
            <button @click="editor.chain().focus().toggleHeading({ level: 1 }).run()">h1</button>
            <button @click="editor.chain().focus().toggleHeading({ level: 2 }).run()">h2</button>
            <button @click="editor.chain().focus().toggleHeading({ level: 3 }).run()">h3</button>
            <button @click="editor.chain().focus().toggleHeading({ level: 4 }).run()">h4</button>
            <button @click="editor.chain().focus().toggleHeading({ level: 5 }).run()">h5</button>
            <button @click="editor.chain().focus().toggleHeading({ level: 6 }).run()">h6</button>
            <button @click="editor.chain().focus().toggleBulletList().run()">bullet list</button>
            <button @click="editor.chain().focus().toggleOrderedList().run()">ordered list</button>
            <button @click="editor.chain().focus().toggleCodeBlock().run()">code block</button>
            <button @click="editor.chain().focus().toggleBlockquote().run()">blockquote</button>
            <button @click="editor.chain().focus().undo().run()">undo</button>
            <button @click="editor.chain().focus().redo().run()">redo</button>
        </div>
    </template>

    <!-- The editor -->
    <div x-ref="editor"></div>
</div>
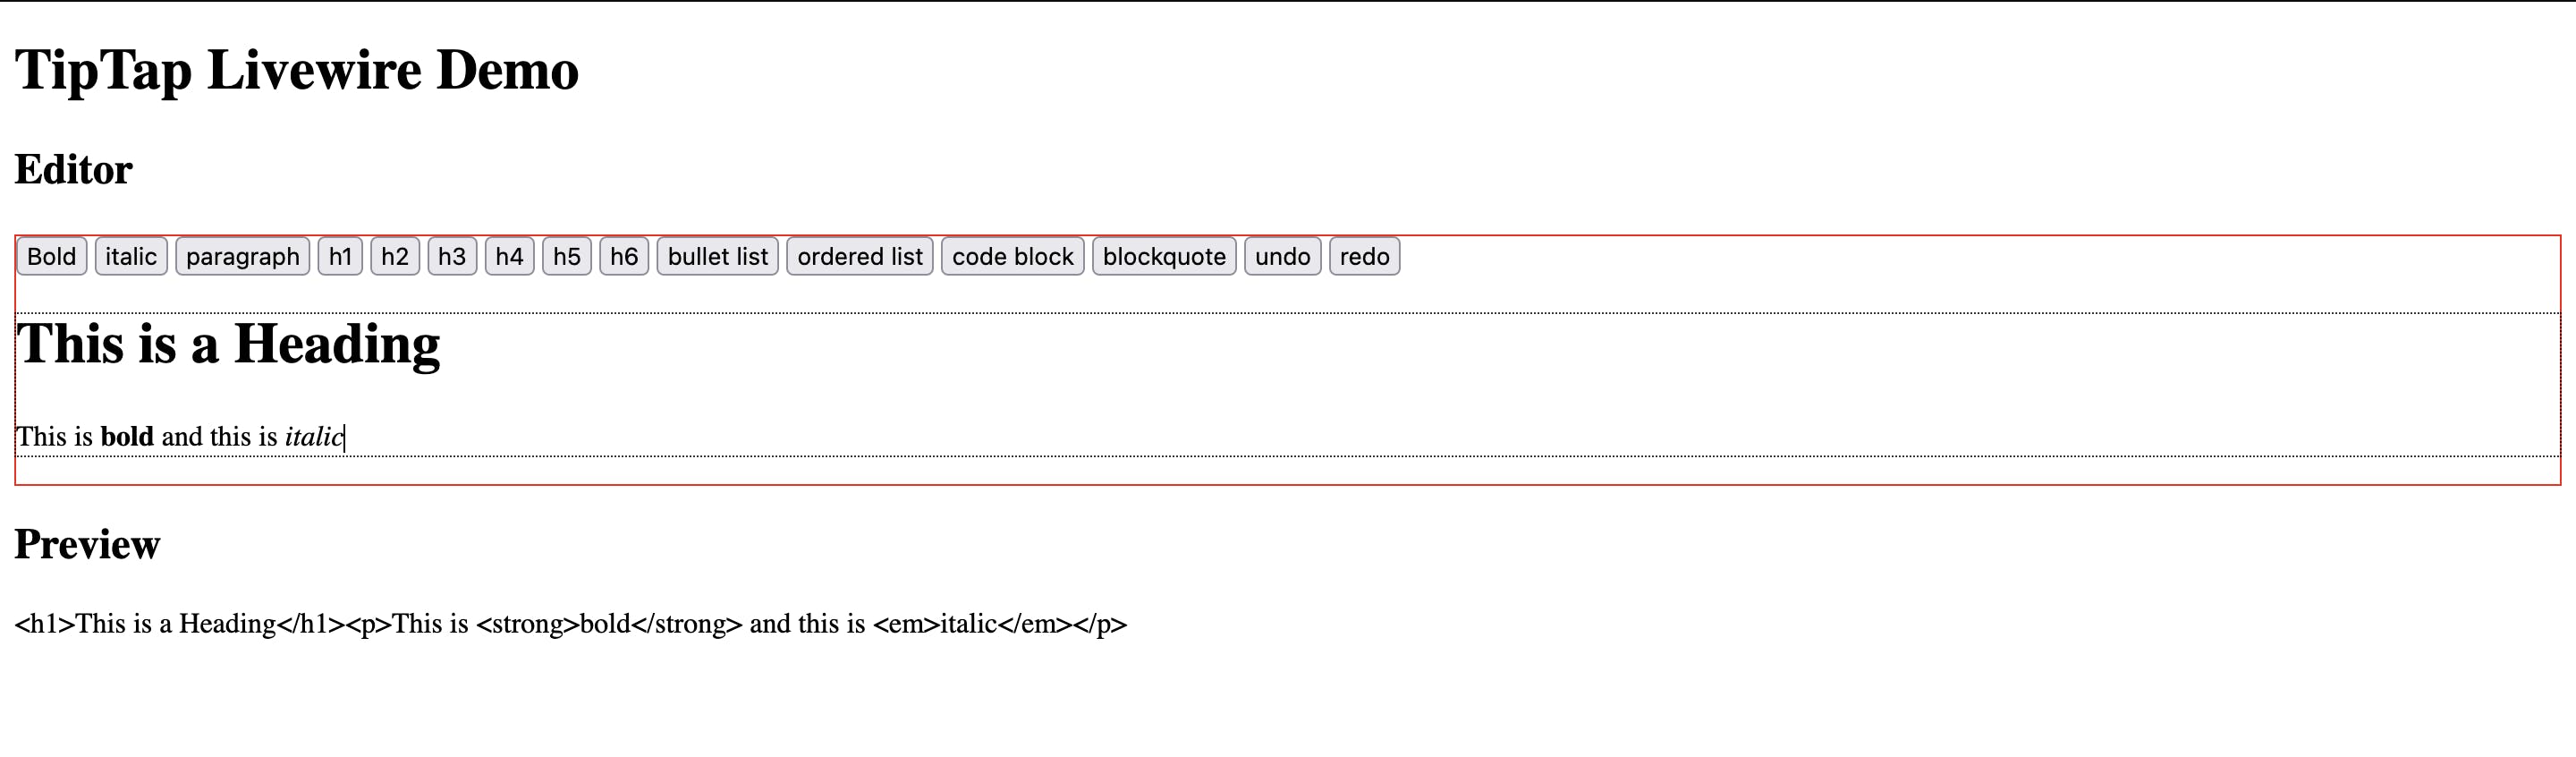
Taking a look back in the browser we can see that the controls have been added and are working
Adding Some Styling
So our editor is running and has the functionality, but in a real project you would want some styling, so let's add some now.
I am a big fan of utility CSS, and in particular TailwindCSS, so that is what we will use here. If you prefer sass or vanilla CSS then you could use that instead.
Install Tailwind
We will be installing TailwindCSS as per the documentation. First, we will install and initialise TailwindCSS via NPM
npm install -D tailwindcss@latest postcss@latest autoprefixer@latest
npx tailwindcss init
We then include TailwindCSS in our Laravel Mix build
// webpack.mix.js
mix.js("resources/js/app.js", "public/js").postCss("resources/css/app.css", "public/css", [
    require("tailwindcss"),
]);
We need to include Tailwind into our css
/* ./resources/css/app.css */
@tailwind base;
@tailwind components;
@tailwind utilities;
Finally rebuild the CSS/Javascript
npm run dev
When we refresh our browser we should see a that TailwindCSS is installed.

Now we can add our styling as we see fit. Below are the styles I have chosen to apply.
<!-- resources/views/welcome.blade.php -->
<!DOCTYPE html>
<html lang="{{ str_replace('_', '-', app()->getLocale()) }}">
    <head>
        <meta charset="UTF-8" />
        <meta name="viewport" content="width=device-width, initial-scale=1.0" />
        <link href="{{ asset('css/app.css') }}" rel="stylesheet" />
        <title>TipTap Demo</title>
        @livewireStyles
    </head>

    <body class="bg-gray-100 p-8">
        <h1 class="text-gray-800 text-3xl font-semibold text-center">TipTap Livewire Demo</h1>
        <!-- The editor component -->
        <livewire:editor />

        @livewireScripts
        <script src="{{asset('js/app.js')}}" defer></script>
    </body>
</html>
<!-- resources/views/livewire/editor.blade.php -->
<div>
    <!-- The editor -->
    <div class="py-4 px-8 bg-white shadow-lg rounded-lg my-8">
        <h2>Editor</h2>
        <x-editor wire:model="content"/>
    </div>

    <!-- Preview what the editor is creating -->
    <div class="py-4 px-8 bg-white shadow-lg rounded-lg my-8">
        <h2>Preview</h2>
        <p>{{$content}}</p>
    </div>
</div>
<!-- resources/views/components/editor.blade.php -->
<div
    x-data="{content: @entangle($attributes->wire('model')),...setupEditor()}"
    x-init="() => init($refs.editor)"
    wire:ignore
    {{ $attributes->whereDoesntStartWith('wire:model') }}>

    <!-- The Controls -->
    <template x-if="editor">
        <div class="mb-2 flex gap-2">
            <button class="flex items-center px-3 py-1 bg-gray-200 rounded-lg shadow-xs cursor-pointer hover:bg-gray-500 hover:text-gray-100" @click="editor.chain().toggleBold().focus().run()">Bold</button>
            <button class="flex items-center px-3 py-1 bg-gray-200 rounded-lg shadow-xs cursor-pointer hover:bg-gray-500 hover:text-gray-100" @click="editor.chain().focus().toggleItalic().run()">italic</button>
            <button class="flex items-center px-3 py-1 bg-gray-200 rounded-lg shadow-xs cursor-pointer hover:bg-gray-500 hover:text-gray-100" @click="editor.chain().focus().setParagraph().run()"> paragraph</button>
            <button class="flex items-center px-3 py-1 bg-gray-200 rounded-lg shadow-xs cursor-pointer hover:bg-gray-500 hover:text-gray-100" @click="editor.chain().focus().toggleHeading({ level: 1 }).run()">h1</button>
            <button class="flex items-center px-3 py-1 bg-gray-200 rounded-lg shadow-xs cursor-pointer hover:bg-gray-500 hover:text-gray-100" @click="editor.chain().focus().toggleHeading({ level: 2 }).run()">h2</button>
            <button class="flex items-center px-3 py-1 bg-gray-200 rounded-lg shadow-xs cursor-pointer hover:bg-gray-500 hover:text-gray-100" @click="editor.chain().focus().toggleHeading({ level: 3 }).run()">h3</button>
            <button class="flex items-center px-3 py-1 bg-gray-200 rounded-lg shadow-xs cursor-pointer hover:bg-gray-500 hover:text-gray-100" @click="editor.chain().focus().toggleHeading({ level: 4 }).run()">h4</button>
            <button class="flex items-center px-3 py-1 bg-gray-200 rounded-lg shadow-xs cursor-pointer hover:bg-gray-500 hover:text-gray-100" @click="editor.chain().focus().toggleHeading({ level: 5 }).run()">h5</button>
            <button class="flex items-center px-3 py-1 bg-gray-200 rounded-lg shadow-xs cursor-pointer hover:bg-gray-500 hover:text-gray-100" @click="editor.chain().focus().toggleHeading({ level: 6 }).run()">h6</button>
            <button class="flex items-center px-3 py-1 bg-gray-200 rounded-lg shadow-xs cursor-pointer hover:bg-gray-500 hover:text-gray-100" @click="editor.chain().focus().toggleBulletList().run()">bullet list</button>
            <button class="flex items-center px-3 py-1 bg-gray-200 rounded-lg shadow-xs cursor-pointer hover:bg-gray-500 hover:text-gray-100" @click="editor.chain().focus().toggleOrderedList().run()">ordered list</button>
            <button class="flex items-center px-3 py-1 bg-gray-200 rounded-lg shadow-xs cursor-pointer hover:bg-gray-500 hover:text-gray-100" @click="editor.chain().focus().toggleCodeBlock().run()">code block</button>
            <button class="flex items-center px-3 py-1 bg-gray-200 rounded-lg shadow-xs cursor-pointer hover:bg-gray-500 hover:text-gray-100" @click="editor.chain().focus().toggleBlockquote().run()">blockquote</button>
            <button class="flex items-center px-3 py-1 bg-gray-200 rounded-lg shadow-xs cursor-pointer hover:bg-gray-500 hover:text-gray-100" @click="editor.chain().focus().undo().run()">undo</button>
            <button class="flex items-center px-3 py-1 bg-gray-200 rounded-lg shadow-xs cursor-pointer hover:bg-gray-500 hover:text-gray-100" @click="editor.chain().focus().redo().run()">redo</button>
        </div>
    </template>

    <!-- The editor -->
    <div x-ref="editor" class="py-2 px-3 rounded-lg border-2 border-gray-300 mt-1 focus:outline-none focus:ring-2 focus:ring-gray-600 focus:border-transparent"></div>
</div>
And how that looks
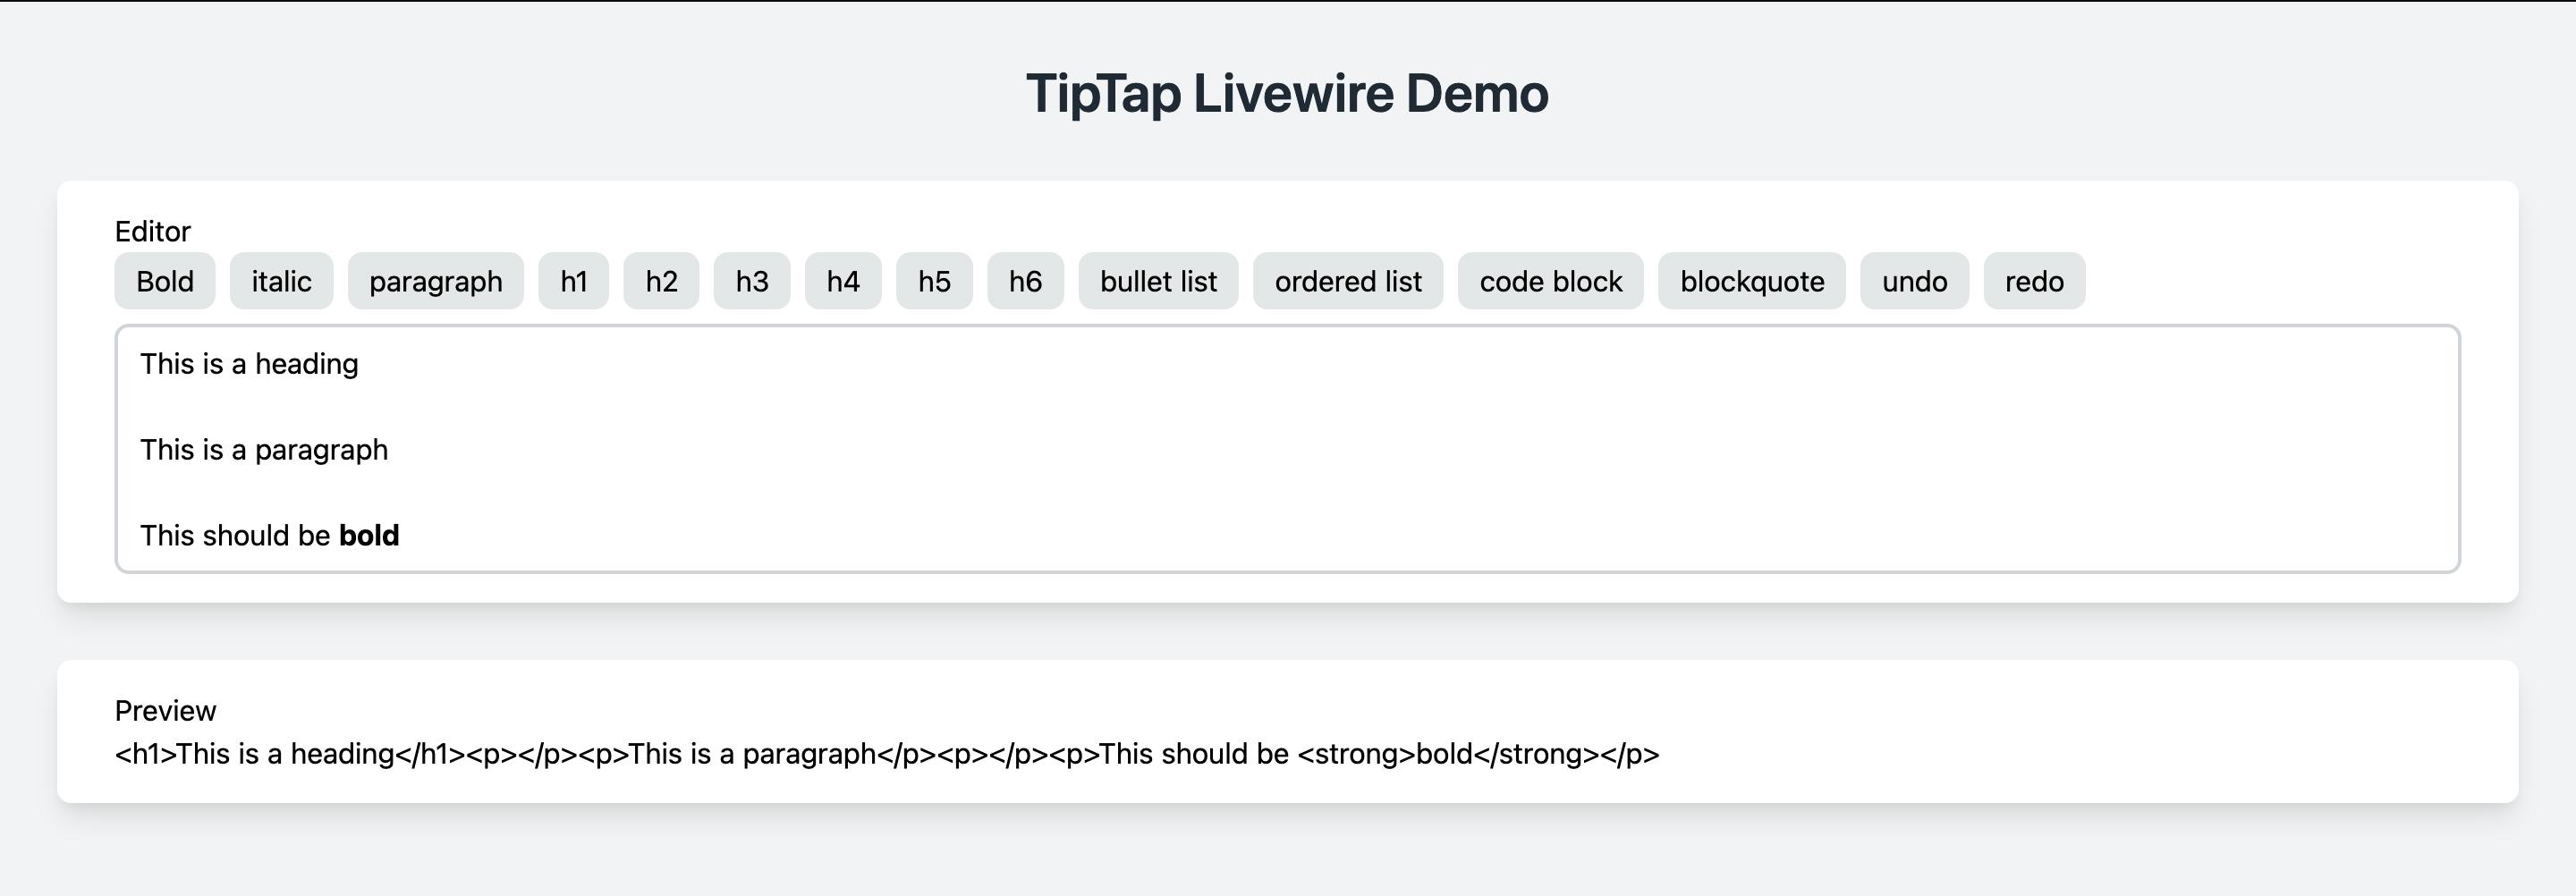
You may have noticed that the formatting has gone from inside the editor itself, we can remidy this using Tailwind Typography
npm install @tailwindcss/typography
Then add the plugin to your tailwind.config.js file:
// tailwind.config.js
module.exports = {
  theme: {
    // ...
  },
  plugins: [
    require('@tailwindcss/typography'),
    // ...
  ],
}
We then add the prose class to the editor
<!-- resources/views/components/editor.blade.php -->
<div
    x-data="{content: @entangle($attributes->wire('model')),...setupEditor()}"
    x-init="() => init($refs.editor)"
    wire:ignore
    {{ $attributes->whereDoesntStartWith('wire:model') }}>

    <!-- The Controls -->
    <template x-if="editor">
        <div class="mb-2 flex gap-2">
            <button class="flex items-center px-3 py-1 bg-gray-200 rounded-lg shadow-xs cursor-pointer hover:bg-gray-500 hover:text-gray-100" @click="editor.chain().toggleBold().focus().run()">Bold</button>
            <button class="flex items-center px-3 py-1 bg-gray-200 rounded-lg shadow-xs cursor-pointer hover:bg-gray-500 hover:text-gray-100" @click="editor.chain().focus().toggleItalic().run()">italic</button>
            <button class="flex items-center px-3 py-1 bg-gray-200 rounded-lg shadow-xs cursor-pointer hover:bg-gray-500 hover:text-gray-100" @click="editor.chain().focus().setParagraph().run()"> paragraph</button>
            <button class="flex items-center px-3 py-1 bg-gray-200 rounded-lg shadow-xs cursor-pointer hover:bg-gray-500 hover:text-gray-100" @click="editor.chain().focus().toggleHeading({ level: 1 }).run()">h1</button>
            <button class="flex items-center px-3 py-1 bg-gray-200 rounded-lg shadow-xs cursor-pointer hover:bg-gray-500 hover:text-gray-100" @click="editor.chain().focus().toggleHeading({ level: 2 }).run()">h2</button>
            <button class="flex items-center px-3 py-1 bg-gray-200 rounded-lg shadow-xs cursor-pointer hover:bg-gray-500 hover:text-gray-100" @click="editor.chain().focus().toggleHeading({ level: 3 }).run()">h3</button>
            <button class="flex items-center px-3 py-1 bg-gray-200 rounded-lg shadow-xs cursor-pointer hover:bg-gray-500 hover:text-gray-100" @click="editor.chain().focus().toggleHeading({ level: 4 }).run()">h4</button>
            <button class="flex items-center px-3 py-1 bg-gray-200 rounded-lg shadow-xs cursor-pointer hover:bg-gray-500 hover:text-gray-100" @click="editor.chain().focus().toggleHeading({ level: 5 }).run()">h5</button>
            <button class="flex items-center px-3 py-1 bg-gray-200 rounded-lg shadow-xs cursor-pointer hover:bg-gray-500 hover:text-gray-100" @click="editor.chain().focus().toggleHeading({ level: 6 }).run()">h6</button>
            <button class="flex items-center px-3 py-1 bg-gray-200 rounded-lg shadow-xs cursor-pointer hover:bg-gray-500 hover:text-gray-100" @click="editor.chain().focus().toggleBulletList().run()">bullet list</button>
            <button class="flex items-center px-3 py-1 bg-gray-200 rounded-lg shadow-xs cursor-pointer hover:bg-gray-500 hover:text-gray-100" @click="editor.chain().focus().toggleOrderedList().run()">ordered list</button>
            <button class="flex items-center px-3 py-1 bg-gray-200 rounded-lg shadow-xs cursor-pointer hover:bg-gray-500 hover:text-gray-100" @click="editor.chain().focus().toggleCodeBlock().run()">code block</button>
            <button class="flex items-center px-3 py-1 bg-gray-200 rounded-lg shadow-xs cursor-pointer hover:bg-gray-500 hover:text-gray-100" @click="editor.chain().focus().toggleBlockquote().run()">blockquote</button>
            <button class="flex items-center px-3 py-1 bg-gray-200 rounded-lg shadow-xs cursor-pointer hover:bg-gray-500 hover:text-gray-100" @click="editor.chain().focus().undo().run()">undo</button>
            <button class="flex items-center px-3 py-1 bg-gray-200 rounded-lg shadow-xs cursor-pointer hover:bg-gray-500 hover:text-gray-100" @click="editor.chain().focus().redo().run()">redo</button>
        </div>
    </template>

    <!-- The editor -->
    <div x-ref="editor" class="prose py-2 px-3 rounded-lg border-2 border-gray-300 mt-1 focus:outline-none focus:ring-2 focus:ring-gray-600 focus:border-transparent"></div>
</div>
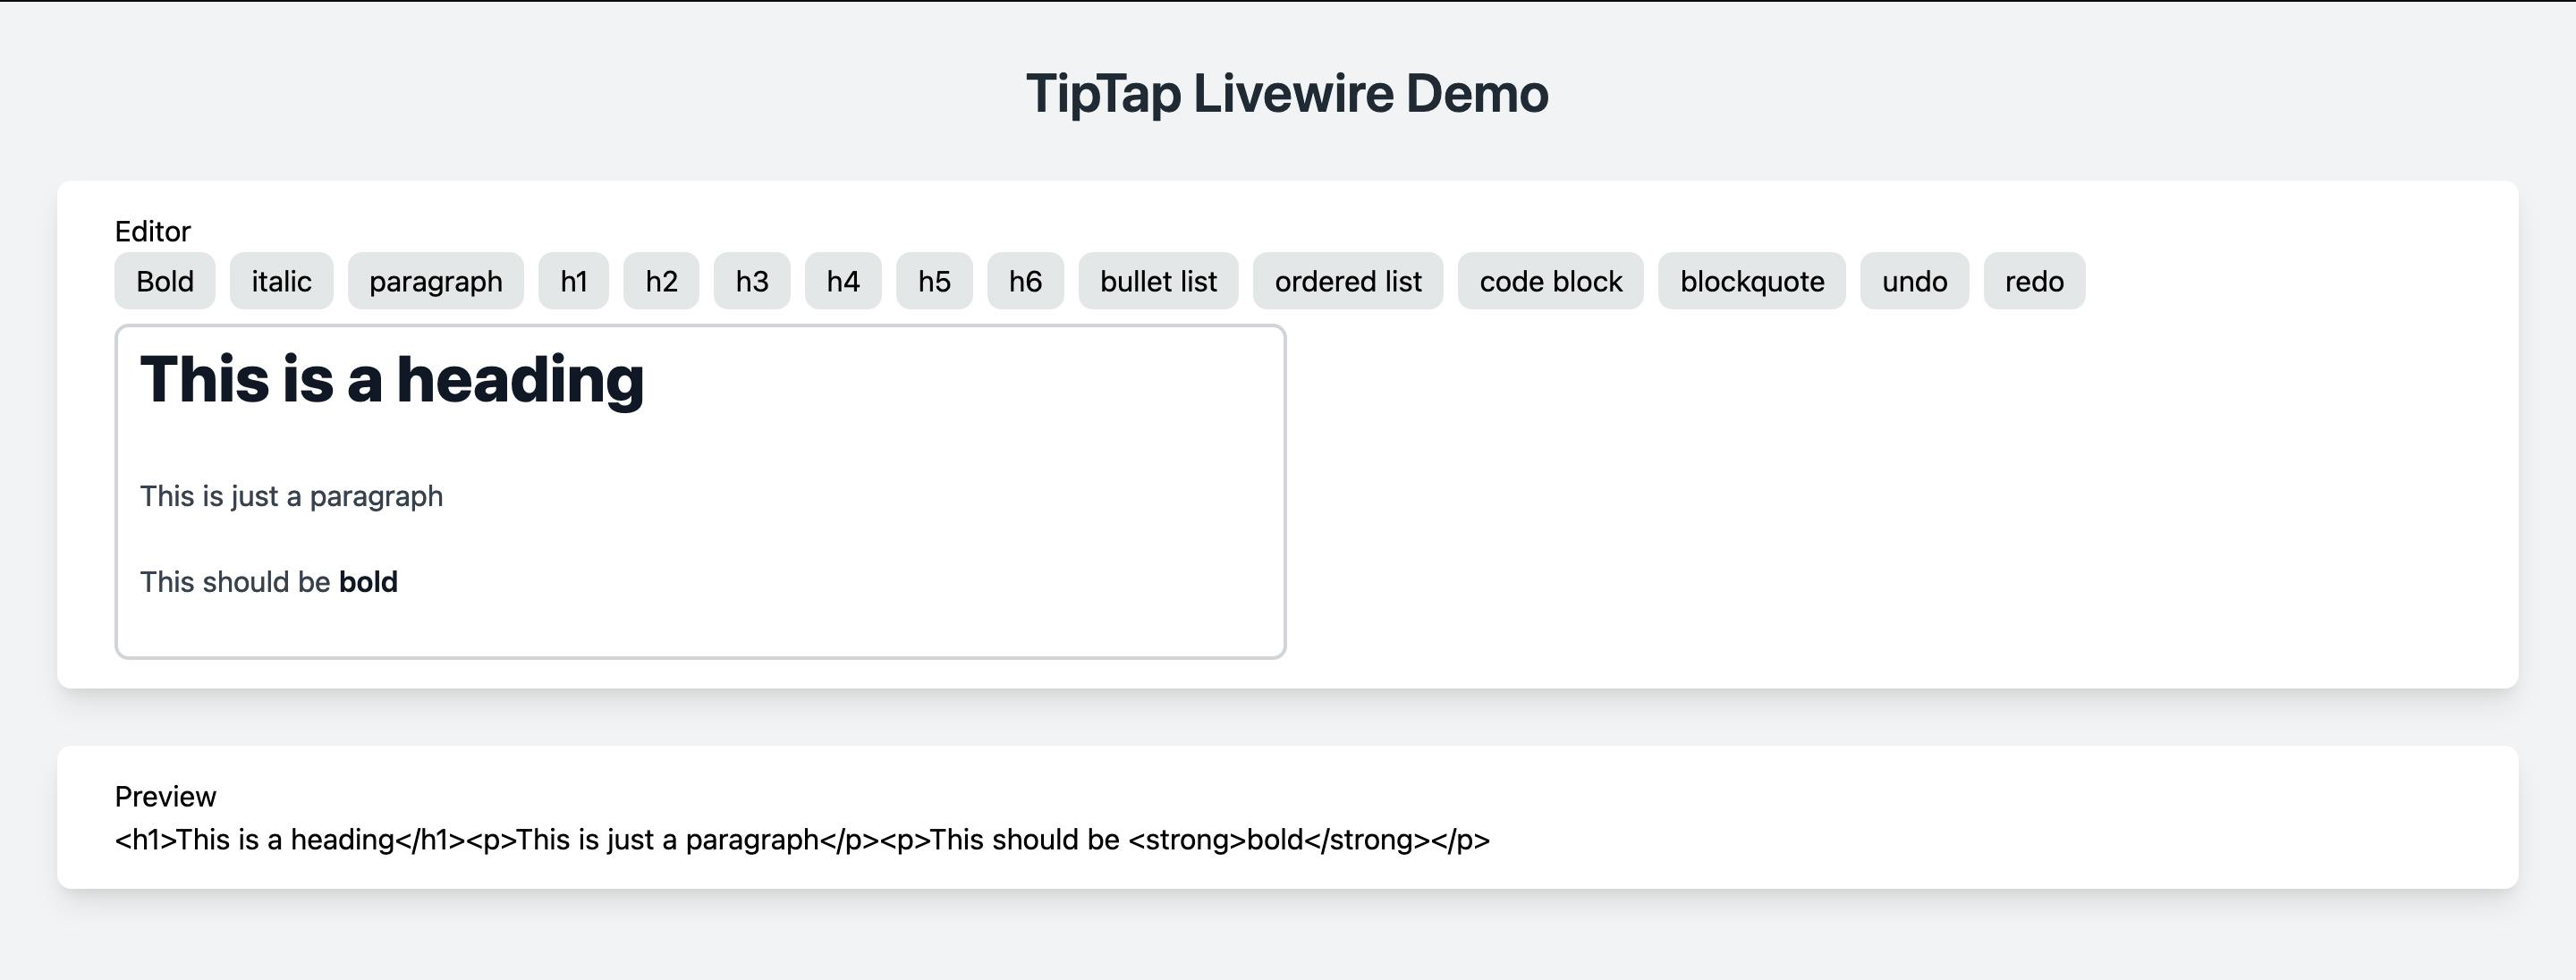
We need to rebuild the JS/CSS one more time and we are done.
npm run dev
Thanks for reading, I hope this has been useful. If there are any errors or you have any feedback then please let me know.